How to Film a Great Video Tour of Your Rental
Interested prospective tenants will want to view your rental property after viewing your rental ad. However, with the effects of Covid-19 still lingering and social distancing becoming the norm, landlords have come up with an even more creative way to showcase their rental property. That is by conducting a virtual property tour!
And, even better, virtual video tours have been proven to be quite effective at landing leads. As a matter of fact, virtual property video tours have been found to yield more than 4x the leads than those without!
But how do you create a virtual property tour? Well, there are two approaches to go about it. You can do it yourself or simply hire a professional to do it on your behalf.
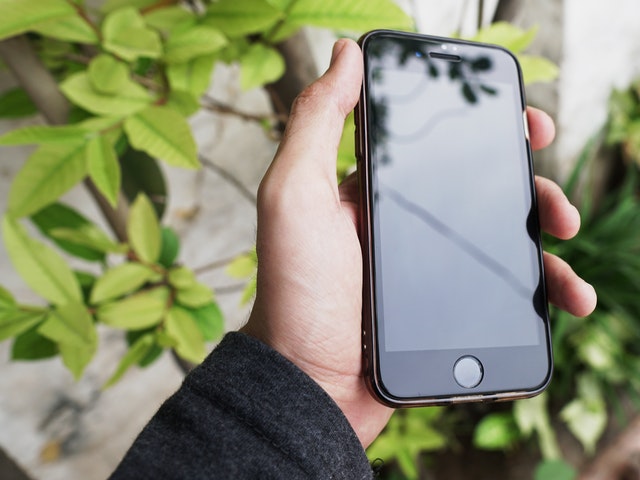
Luckily, taking a virtual property tour of a property doesn’t require specialized skills. If pressed on time or working with a tight budget, it’s something you can even do with your smartphone. It’s easy and can equally be effective!
The following is a guide provided by Evolve Real Estate & Property Management to help you film a great video tour of your rental property.
1. Film in Landscape Mode
Don’t make the mistake of filming in portrait mode. The two black vertical bars can be a turn-off to prospective tenants. What you want to do is film in landscape mode. Besides being more aesthetically pleasing, this will ensure more is captured on the video.
The more details a prospective tenant sees, the easier it’ll be for them to make an informed decision.
2. Pay Attention to the Lighting
When it comes to video tours, lighting is everything. It can make or break your marketing efforts. Broadly speaking, the best time to film the virtual property tour of your property should be in the afternoon.
However, take caution not to film an overexposed or washed-out video, which can happen when the light is coming in too strongly through the windows. If this is the case, close your blinds a bit.
You should also pay attention to backlighting. There are two things that you’ll want to avoid when taking the video: shooting directly in front of windows or directly into the light source. Doing so will ultimately overshadow anything you’re trying to capture.
For better results, have natural light on your back as opposed to facing it directly. And, of course, make the necessary adjustments depending on your property and the intensity of the light source.
3. Manage Your Audio During the Filming Process
If you’re using audio, then there are certain things that you may want to highlight. This can help you provide additional context within the video. For instance, if you’ve recently renovated a room in your home, then that’s a detail you’d want prospective tenants to know about. You can include the details as a voiceover in the footage.
Not planning to do a narration? If so, make sure to edit out any awkward background noise you may have captured. Alternatively, make sure to film in mute mode. When putting your video together, remember to put some background music to help keep people engaged.
4. Showcase the Best Features of Your Rental Property
Just like you would with photos, have a clear focal point in your footage as well. Showcasing the best features your property has will ensure your marketing efforts are effective.
Now, every property generally has its own unique set of features. Is your rental property modern, or historical? Does it have great curb appeal or designed by a popular architect? What amenities will your renters have access to once they start living there? These are some of the things that prospective tenants will want to know when making their decision.
If you provide in-demand amenities like stainless steel appliances, storage areas, and parking spaces, make sure to showcase them in the video tour. Done any recent upgrades? Capture them as well.
5. Avoid Using the Zoom Feature
Most smartphones will have a zoom feature. However, you should avoid using it. While it can help make your subjects appear closer, the pixels will suffer. What you should do instead is walk closer to the subject you want to focus on and grab a close-up shot.
6. Keep Your Finger Off the Lens
Seems obvious, right? However, it’s easy to cover the lens using your finger and only realize the mistake when you’re done shooting.
Besides keeping your finger off the lens, another thing you may want to do is keep your hands steady. Nothing will distract your viewers than shaky footage.
Ideally, stand against a wall or within a corner for a wide shot. Ensure you’ve held your smartphone close and brace your arms at your torso. Once you’ve done that, move your torso to capture the whole room. This will make the footage stable.
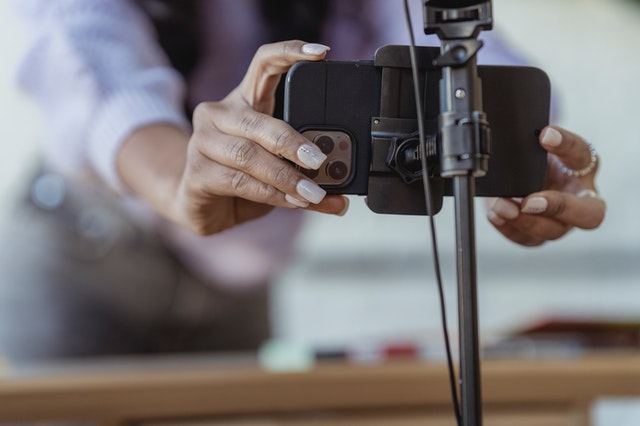
Alternatively, invest in a tripod if you’re still experiencing shaky videos.
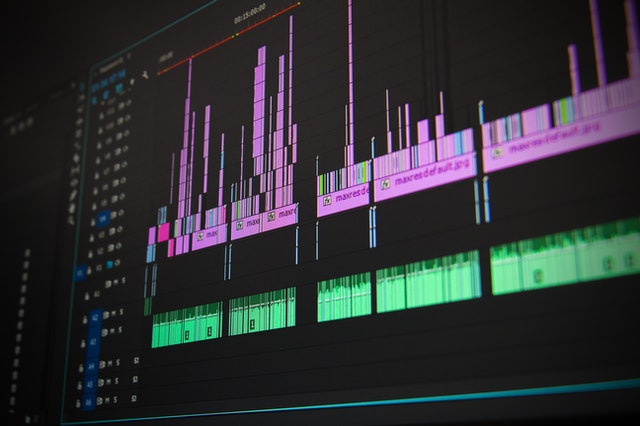
7. Edit the Footage
Lastly, edit the footage to ensure it’s going to be effective to potential renters. The following are a few examples of apps you can use to do just that:
- iMovie. This is Apple’s video editor. You can use it on either your iPad or Mac. Using it is easy, even for complete beginners. All you have to do is drag and drop clips in order to organize your footage
- VidTrim. This app makes video editing a cinch. Unlike iMovie, this is designed for Android smartphone users. You can trim clips directly from your phone and upload them immediately
- Splice. This is another option Apple smartphone users have. It’ll do just about anything the two apps above will do. However, this app comes with soundtracks that you can add to your video
Bottom Line
Videos have been proven to be much more effective than pictures when it comes to rental property marketing. It helps prospects better visualize themselves living in your rental property.
If you want help marketing your rental property with top-quality photos and videos, contact Evolve Real Estate & Property Management today! We can help you with all the services you need to make your property a success.
